


|
#1
 Sep 14 2019, 05:11 AM
|
||||
|
||||
|
Posting & Sending Pictures - Forum and Support
Should you need to get back to this post to look for other information: Each post has a Table of Contents link bottom right of the post, which when you click, will bring you right back here. Last edited by Tiger; Sep 13 2023 at 08:12 AM. |


|
#2
Sep 14 2019, 05:13 AM
|
||||
|
||||
|
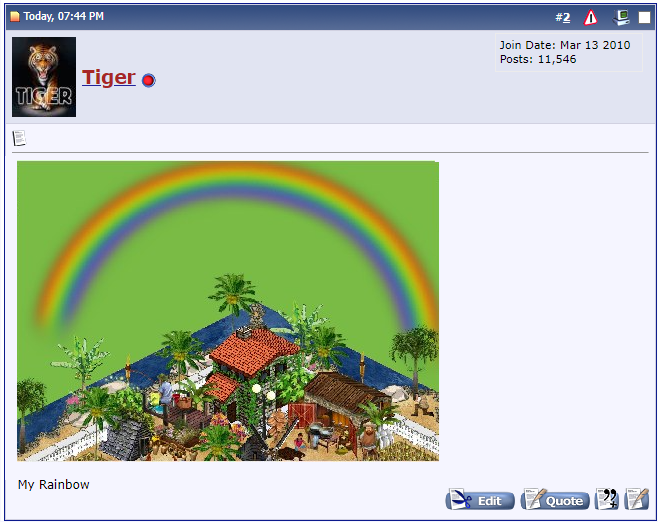
How to use the Camera in your Toolbox to take a picture and post it in the forum.  You must be logged into your Forum account to be able to post a picture. You must be logged into your Farm Town game on the Slashkey Website to be able to take a picture with the in game camera.
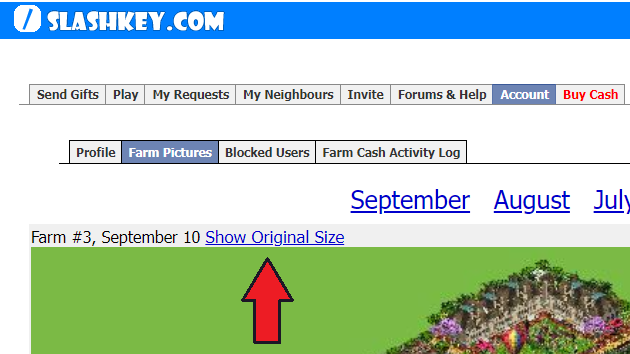
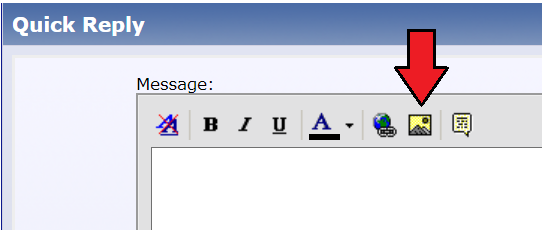
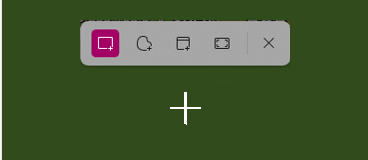
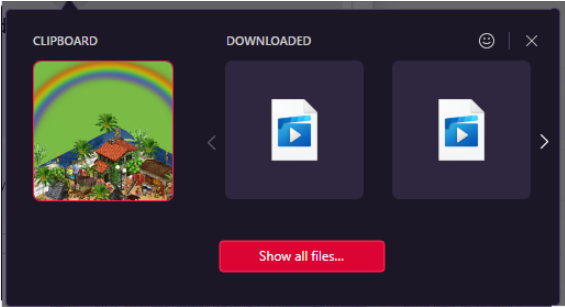
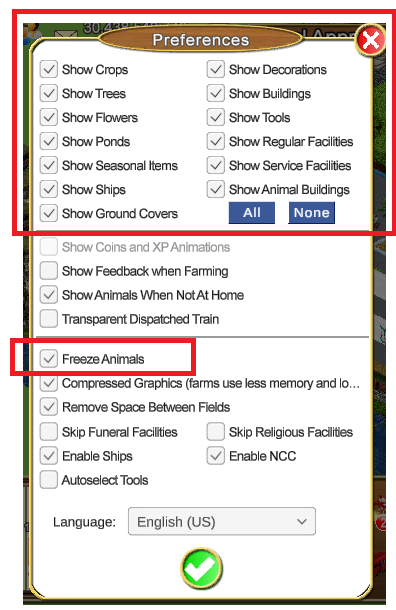
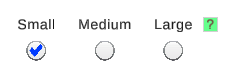
Please make sure that when you click on the camera that you use the Small size to take a picture of what it is you want to show on your farms. The Medium and Large sizes are too wide for the forum and will be deleted by a moderator. To show the whole farm use the Farm option: 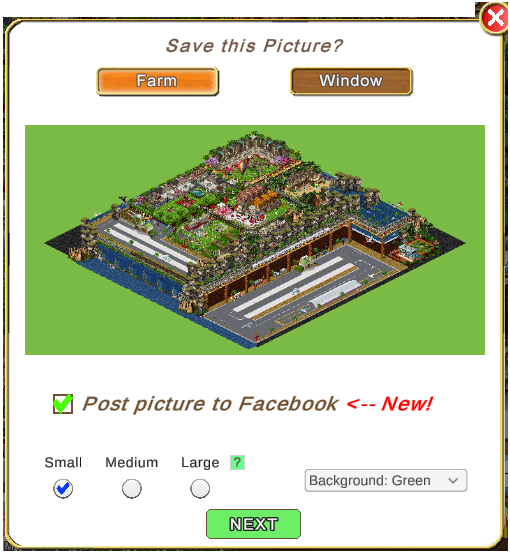  These examples show Window mode (orange background) which gives you the option of taking a picture of only part of the farm instead of all of it, when posted on the forum. 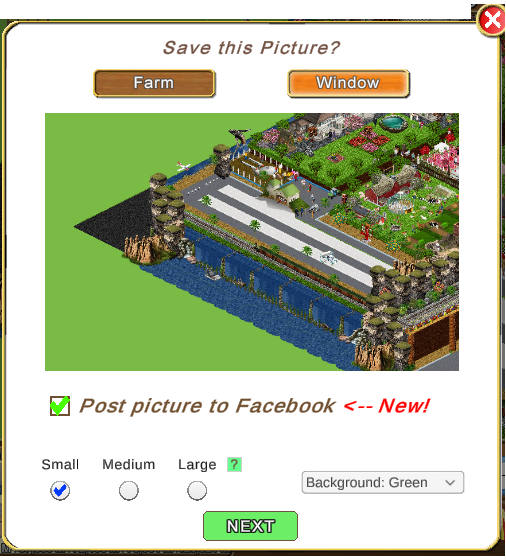  CLICK HERE if you do not know how to use the camera or change the options between showing the entire farm or just a portion of the farm: There are different methods you can choose from, to get the link for your picture to post it in the forum. Method 1: Use Farm Pictures in your Account tab if you took the photo with the Camera in game recently:
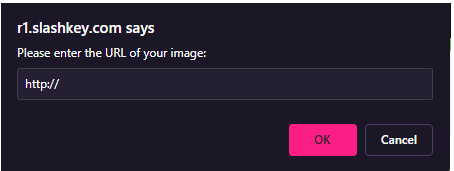
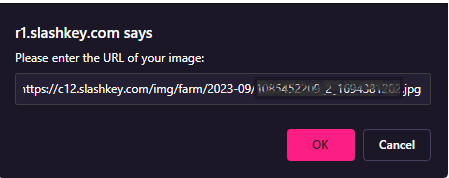
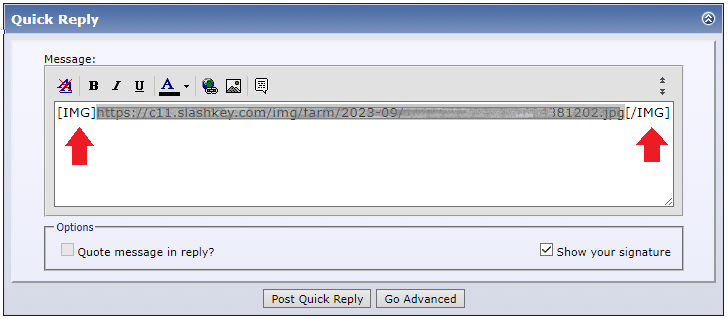
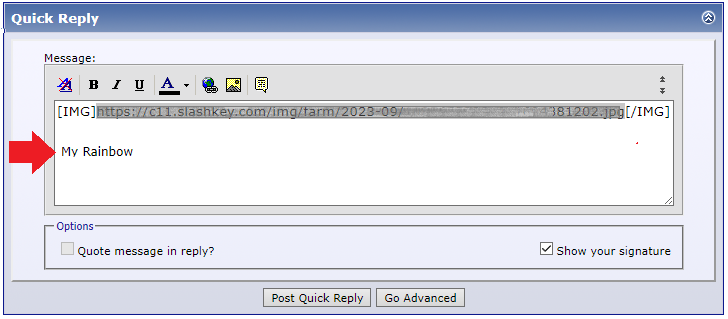
Your photo link will then show between the two IMG codes at the front and end of the link similar to this: 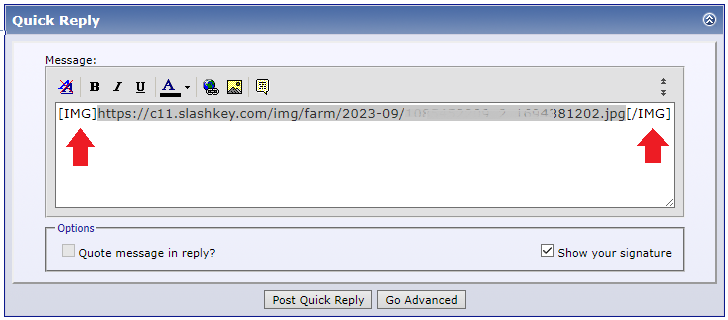
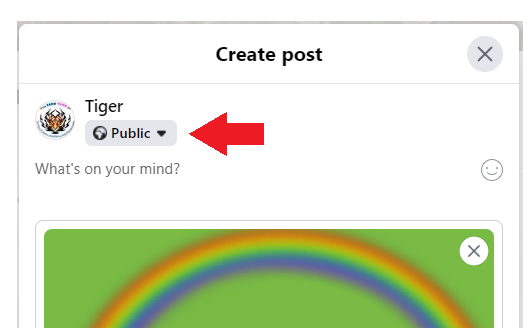
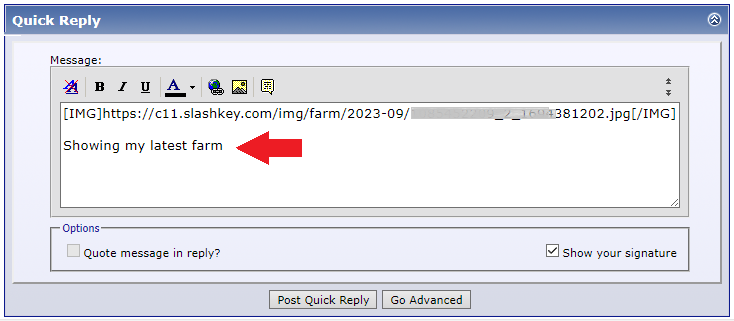 If you would like to view how your picture and post will appear before you post it, at the bottom of the Posting box click on either Go Advanced or Preview Post or Preview Changes. 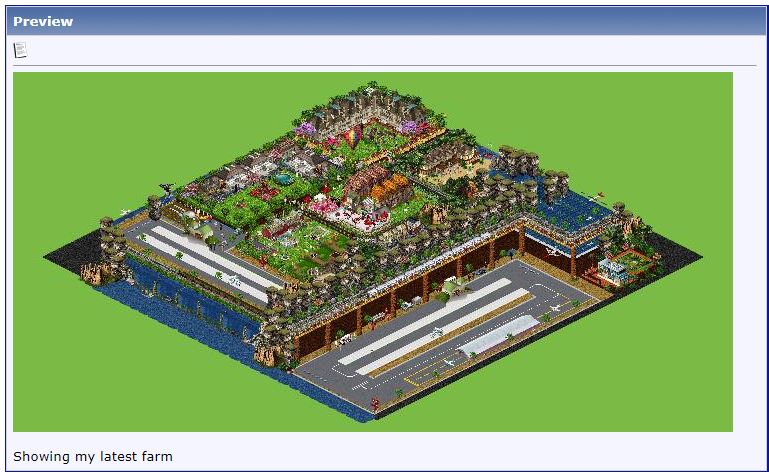 When you are happy with how your post looks, click Submit Reply or Post Quick Reply to publish your post. Method 2 - If you posted the picture to Facebook:
Your photo link will then show between the two IMG codes at the front and end of the link similar to this:
If you would like to view how your picture and post will appear before you post it, at the bottom of the Posting box click on either Go Advanced or Preview Post or Preview Changes. When you are happy with how your post looks, click Submit Reply or Post Quick Reply to publish your post. Last edited by Tiger; Oct 26 2023 at 02:39 PM. |


|
#3
Sep 14 2019, 07:06 AM
|
||||
|
||||
|
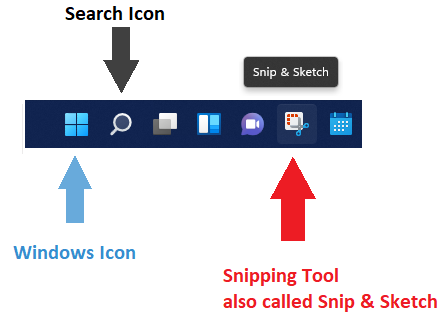
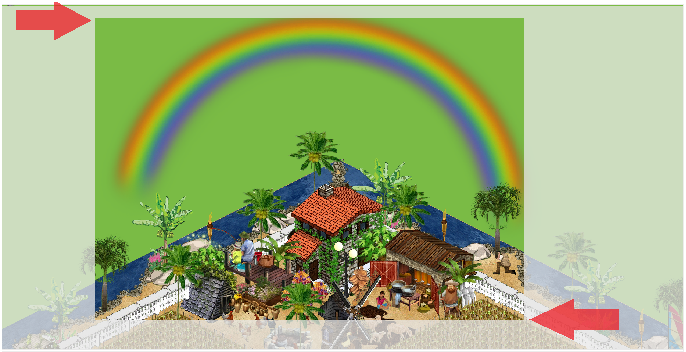
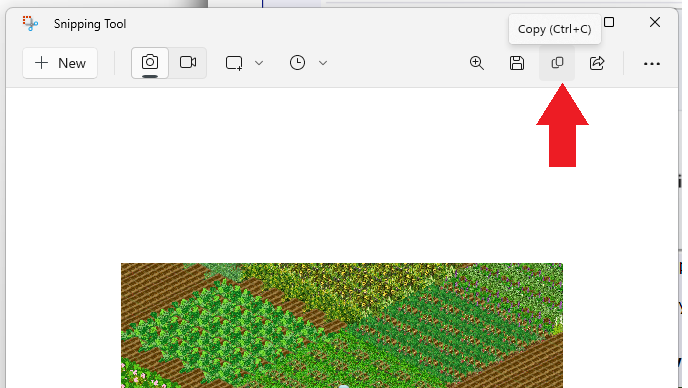
How to find and use the Snipping Tool (Snip & Sketch Tool)  Picture widths suitable for the forum are: Pixels 800 OR 21 centimeters OR 8 inches. The Windows free Paint program can show you what the width is when you view the image properties in Paint. The MAC snipping tool has numbers attached the crosshair pointer which, if you can read them as they are small, may help with knowing MAC snip sizes. IF you are showcasing your farm and/or need to show the entire farm, it's far easier to use the in game camera set to take the picture at small size than to figure out the width by using a snip. What we do not need or want are Full Screen sized pictures. Those are far too wide and show far more than is needed making your farm look much smaller in the picture. Using a snipping tool to take a picture of a portion of your farm is popular when needing to show something that may be small or very detailed on a farm and for those that love to design farms in detail BUT the new width of the game screen that we are all playing on does mean that this causes an issue with the size of pictures that can be posted on the forum as the width of game screen at 100% zoom is far wider than the forum threads are. If you've previously used the Snipping Tool using your Windows or MAC computer and are already familiar with how to use the tool and save the picture you can save the picture, then skip down to the instructions on How to Post the Picture to Facebook or How to post a Picture in the Forum. Detailed instructions on How to use the Snipping tool are listed first then followed by How Save your Snip (Picture), How to Post your picture to Facebook, then how to upload your picture to the Forum should you need to do that. How to open & use the Snipping Tool: 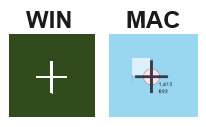 MAC Computers The method to select an area to take a snip is similar to the windows method but the way you open the snipping tool and then save it is different. You may find it much easier to go to Apple support and read their instructions on all the various ways to use the snipping tool on MAC computers. Here's the Link to click on: https://support.apple.com/en-gb/HT201361 MAC users Windows computers:
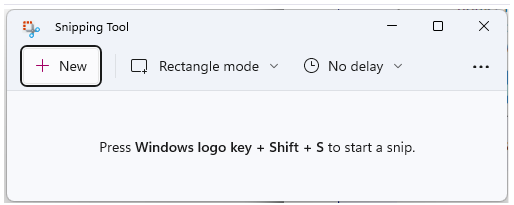
 When you open the snipping tool you will see this menu.
Click on New then the mini menu window will show. A White Crosshair sign will appear
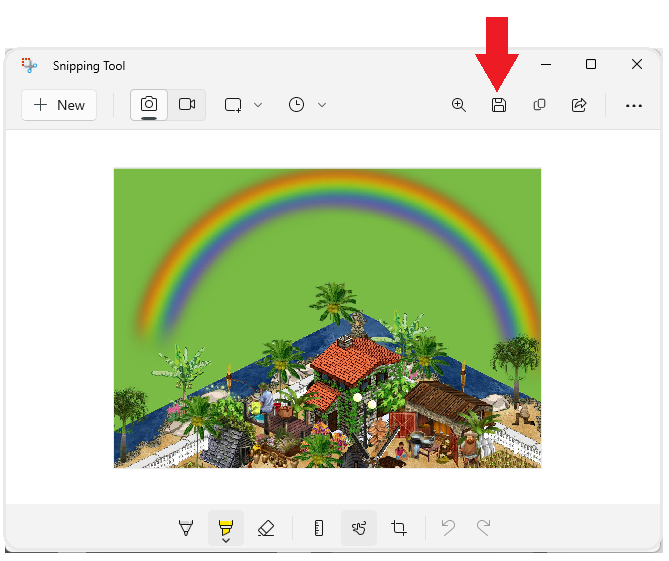
Saving your Snip (Picture): When you are happy with your image click on the disc icon to save the snip. The save icon is indicated with an arrow:
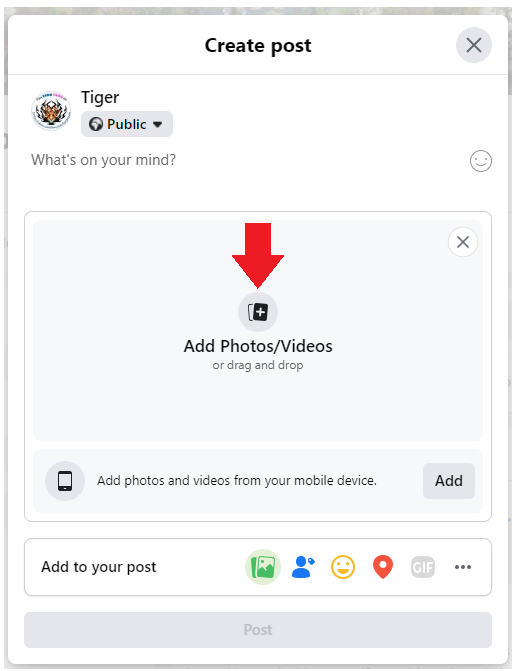
To post the picture to your Facebook profile:
To Post the Picture in the Forum:
Last edited by Tiger; Oct 27 2023 at 07:54 AM. |


|
#4
Sep 14 2019, 10:08 AM
|
||||
|
||||
|
Sending a Picture to the Slashkey Support Team IMPORTANT! You ONLY need to do this IF Support asks you to send one. Support will let you know if one is needed and they will give you the email address to use themselves. You will be sending it via email. Before you take a photo of your farm you first need to CHECK that you will be showing whatever Support have asked you to show in the picture. You may need to adjust your farm area and size to suit what needs to show in the picture:
Using the Snipping Tool on your Computer.
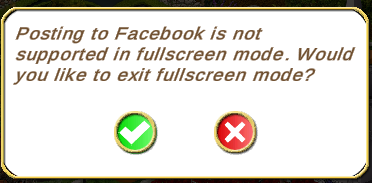
OR Using the In Game Camera and your Farm Photos in the Account tab.Go to the farm you want to take a picture of. You can not take a photo while in Full Screen mode.  Remember to check if all your preferences are showing what you want support to see. Remember to check if all your preferences are showing what you want support to see. Click on the yellow toolbox bottom right of your game screen. The Camera is located in your Toolbox in the 2nd column from the left at the very bottom. Click on it and you will be shown the Save this Picture window that has some options that you can choose to use. Click on the yellow toolbox bottom right of your game screen. The Camera is located in your Toolbox in the 2nd column from the left at the very bottom. Click on it and you will be shown the Save this Picture window that has some options that you can choose to use.There are 2 options at the top of the window. Farm and Window The other option Window mode gives you the option of taking a picture of only part of the farm instead of all of it. Below the example of your photo is the option to post to Facebook if you have a Facebook account.[/b] Last edited by Tiger; Oct 26 2023 at 02:52 PM. |


 |
«
Previous Thread
|
Next Thread
»
 Linear Mode

|
|

All times are GMT -5. The time now is 02:31 AM.